The better choice depends on what is inside the cabin, how long the contamination has been present, and whether you have the equipment to remove moisture afterward. By comparing the job types, materials, risks, time demands and realistic results, you can decide when to clean the car yourself and when to hire a professional.
Key takeaways
- Use DIY cleaning for fresh spills, loose debris and routine touch-point maintenance.
- Test products on hidden areas before cleaning leather, Alcantara or electronic surfaces.
- Choose professional equipment for embedded stains, persistent odours, mould or contaminated upholstery.
- Expect faster, deeper results from professionals, but routine upkeep remains practical at home.
Which interior cleaning jobs belong at home, and which need a professional?
DIY is the better match for light, recent soil and routine upkeep. Remove rubbish, vacuum loose debris, blot a fresh spill, and wipe touch points with a compatible product before dirt becomes embedded.
| Condition | Better match | Why |
|---|---|---|
| Routine maintenance | DIY car cleaning | Frequent vacuuming, spill blotting and touch-point cleaning control light soil. |
| Embedded grit or set stains | Professional interior cleaning | Dry vacuuming, controlled agitation, extraction and material-specific stain treatment reach deeper contamination. |
| Persistent odours or smoke residue | Professional service | Fragrance only masks the source; residue in carpet, padding or insulation must be located and removed. |
| Pet hair, mould or contamination beneath mats | Professional service | Rubber tools, compressed air, inspection and controlled cleaning handle areas a household vacuum can miss. |
| Light soil with careful handling | DIY | You control the moisture and can stop before upholstery becomes wet. |
A car interior cleaning service versus DIY depends on the condition, not the label “professional.” Professional equipment helps when extraction and controlled moisture are necessary, but excess solution can soak seat foam, carpet underlay and insulation. Poor drying leaves musty odours, encourages microbial growth and can expose wiring or control modules to moisture.
Choose a professional when the vehicle has neglected carpets, spilled milk, vomit, urine, blood, mould or persistent odours. Choose DIY when contamination is light, recent and manageable without soaking materials.
What is the safest step-by-step process for DIY car cleaning?
Keep the cabin dry until loose grit is gone. The safest DIY car cleaning process removes abrasive soil first, controls moisture, and works from clean upper surfaces toward dirtier lower areas.
1. Remove rubbish, personal items, bottles and child seats. Take out the mats and shake them outside the vehicle.
2. Start at the roof liner and upper door panels, then move down to the dashboard, seats, doors and floor. This prevents falling dust from recontaminating cleaned areas.
3. Vacuum sand, grit, pet hair and loose debris before using liquid. Fit the crevice tool around seat rails, seams, console gaps and carpet edges; use a soft brush attachment on vents, stitching and textured trim.
4. Make repeated vacuum passes over seats, seams and carpet edges. One slow pass rarely lifts embedded grit.
5. Use separate microfiber cloths and tools for glass, plastics, screens and dirty lower panels. Grit transferred from a sill cloth can scratch screens or leave glass streaked.
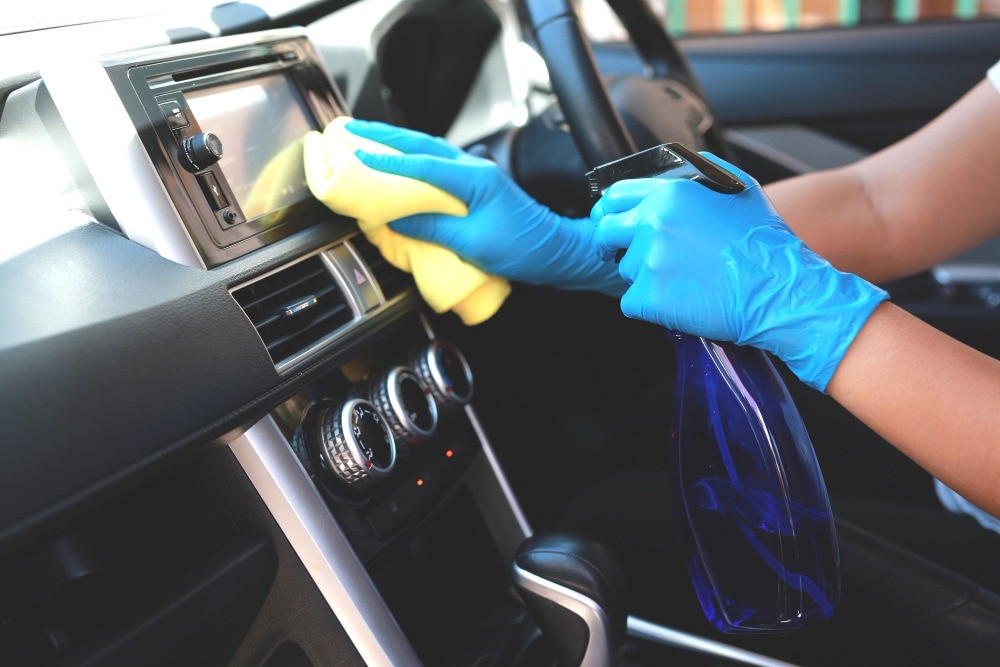
6. Spray cleaner onto a cloth or brush, never directly into the cabin. This limits liquid near seat-mounted airbags, switches, vents, charging ports, displays and controls. Blot spills from the outside toward the centre instead of rubbing them deeper into fabric.
7. Wipe surfaces with controlled moisture, then open doors and windows. Remove damp mats, ventilate the cabin and do not close the vehicle until upholstery and carpet feel dry.
How should you clean cloth, leather, Alcantara and electronic surfaces differently?
Match the product and moisture level to the surface: cloth tolerates controlled agitation, while leather, Alcantara and electronics need far less liquid.
| Material | Safe approach | Avoid |
|---|---|---|
| Cloth upholstery | Low-moisture upholstery cleaner, sprayed onto a brush or cloth, with gentle agitation and blotting | Soaking foam, overwetting seams or leaving detergent residue |
| Coated leather | Leather cleaner approved for coated leather; test a hidden area first and wipe dry | Household cleaners, saddle soap, oily conditioners, aggressive scrubbing or a slippery gloss |
| Aniline leather | Follow the maker’s product instructions and use minimal moisture; test an unseen area | General leather cleaners that darken, stain or strip the absorbent finish |
| Vinyl and synthetic leather | Use a compatible interior cleaner and a soft microfiber cloth | Solvents, abrasive pads and greasy dressings |
Alcantara and suede-like microfiber need minimal moisture, low heat and a soft, material-approved brush. Stiff brushing, strong solvents or excess water can flatten or permanently change the nap, leaving a visible patch.
Plastics and vinyl need a non-greasy interior cleaner, not a shiny dressing. Clean touchscreens with a clean, dry microfiber cloth; never spray liquid onto the display. Use light pressure on piano-black trim because force creates streaks and fine scratches.
Keep seat-mounted airbags, switches, vents, charging ports, seat controls and other electronics dry. Spray cleaner onto the cloth or brush, not the cabin. These material-specific steps are central to professional car interior cleaning benefits, while deep interior cleaning for cars is justified only when controlled moisture and extraction are necessary.
When do stains, odours and contamination justify professional equipment?
Persistent smoke or food odours, spilled milk, vomit, urine, blood, faeces, mould, extensive pet hair, dye transfer, oil-based stains, neglected carpets, and moisture beneath mats justify a professional assessment. The professional interior cleaning or DIY car cleaning decision changes when the source is embedded, not merely visible.
Odour treatment must remove residue from carpet padding, seat seams, or damp insulation; fragrance only masks it until heat or moisture releases the smell again. Blood, vomit, urine and faeces also require disposable gloves, eye protection, suitable disinfection and safe disposal, not an ordinary household wipe.
| Equipment | Strength | Limitation |
|---|---|---|
| Household vacuum | Removes loose, dry soil | Weak against embedded grit, liquids and stains |
| Extractor | Flushes fabric and recovers dirty water | Requires controlled moisture and complete drying |
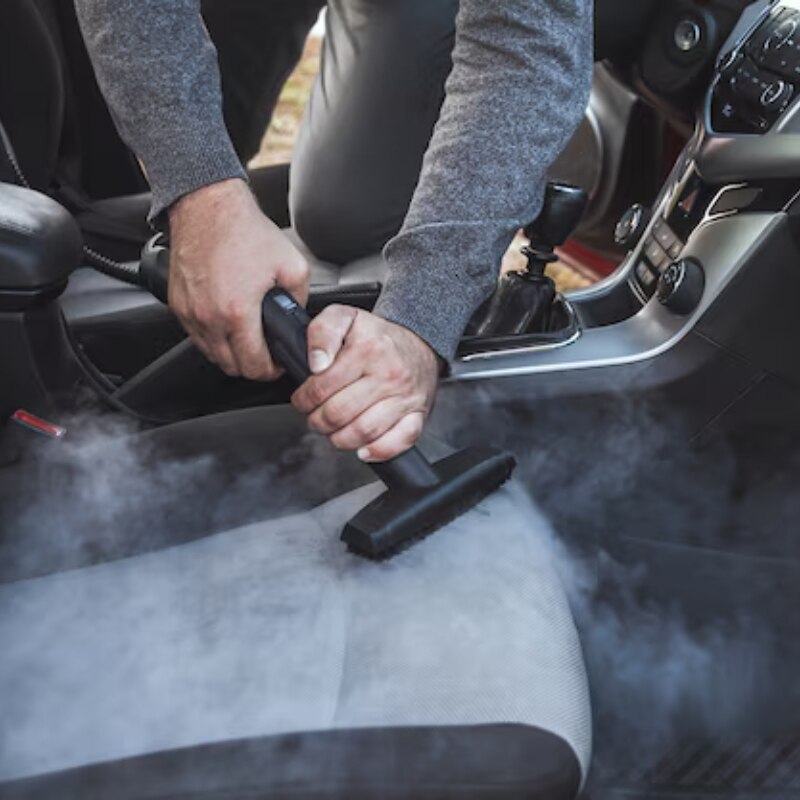
| Steam cleaner | Loosens some soil with heat | Excess heat or moisture can damage trim, foam and adhesives |
| Compressed air and upholstery tools | Reach seams, vents and lift pet hair | Can spread contamination without containment |
Ask the provider:
- Which areas will be wet-cleaned?
- How will seat airbags, wiring, switches and electronics be protected?
- What drying method will be used, and when can the car be closed?
- Will you test a hidden area first?
- Which stains, odours or damaged materials cannot be safely removed?
These process questions reveal the professional car interior cleaning benefits better than a “like-new” promise. Deep interior cleaning for cars is worth scheduling when safe extraction and drying exceed what you can manage. Detailing Roadies By Car Stylein is one option for an assessment focused on controlled cleaning rather than guaranteed restoration.
Related product
 | Car Detailing Experience a fresh and hygienic driving environment with our car interior cleaning service in Gurgaon. View product → |
How much time and improvement should you realistically expect from each option?
A light, recent spill usually justifies DIY, but the work is not a ten-minute wipe-down. Prepare compatible products, brushes, separate microfiber cloths and a vacuum; make multiple vacuum and blotting passes, treat one material at a time, wait for upholstery and carpet to dry, and keep doors or windows open for ventilation.
| Option | Time and effort | Likely improvement |
|---|---|---|
| DIY car cleaning | Several focused hours, with drying time afterward | Removes loose grit, fresh spills, surface soil and recent odours |
| Professional extraction | Less hands-on time for you; the vehicle still needs complete drying | Reaches embedded water-soluble soil and residue with extraction and dedicated tools |
The practical difference in car interior cleaning service versus DIY is controlled moisture and equipment, not magic. Excessive wet cleaning can soak seat foam, carpet underlay and insulation; poor drying can leave musty odours or send moisture toward wiring and control modules.
Extraction cannot reverse sun fading, abrasion, permanently bleached fabric, melted plastic, permanently colour-altered dye transfer or damaged foam. A professional can improve appearance without restoring the original condition.
Use this rule:
- Clean routinely at home when contamination is light and recent.
- Book professional work when the source is embedded, the smell persists, the vehicle has been neglected, or you lack safe extraction and drying equipment.
- Maintain either result with frequent vacuuming and prompt spill removal.
Frequently asked questions
Which car interior cleaning jobs belong at home, and which need a professional?
Handle rubbish, vacuuming, fresh spills and routine touch-point cleaning at home. Use a professional for embedded stains, persistent odours, mould, heavily contaminated upholstery or delicate surfaces that need specialist tools.
What is the safest step-by-step process for DIY car cleaning?
Remove personal items and rubbish, vacuum from top to bottom, brush seams and crevices, blot spills, clean surfaces with compatible products, and dry the cabin fully. Test every product on a hidden area first.
How should cloth, leather, Alcantara and electronic surfaces be cleaned differently?
Use a low-moisture fabric cleaner on cloth, a pH-balanced leather cleaner followed by conditioner on finished leather, minimal moisture and a suitable Alcantara cleaner on Alcantara, and a lightly damp microfiber cloth around electronics.
When do stains, odours and contamination justify professional equipment?
Choose professional cleaning when stains are embedded, odours return after cleaning, upholstery remains damp or contaminated, or mould, vomit, urine, smoke residue and heavy grime require extraction, steam or controlled drying.
How much time and improvement should you expect from DIY versus professional cleaning?
DIY cleaning suits regular upkeep and light soil but takes longer when you lack equipment. Professional cleaning usually delivers more consistent improvement on neglected interiors, while permanent stains, damaged materials and deep odours may not disappear completely.
Keywords